Dusk Delights: Capturing Cafe Ambiance with Perfect Lighting
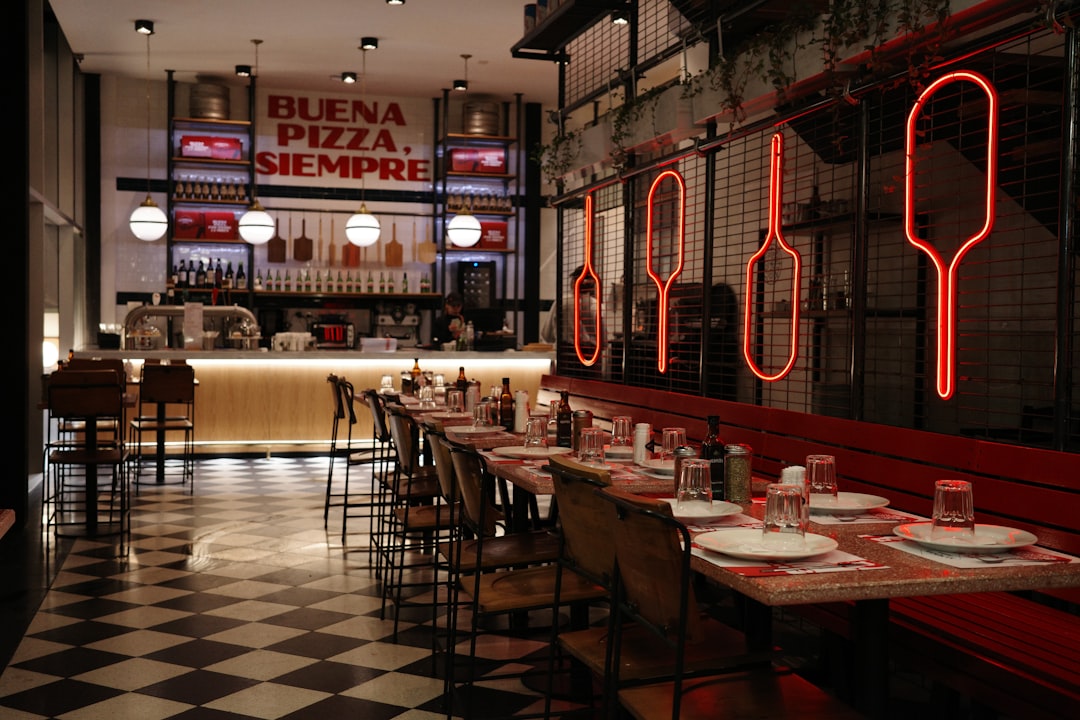
So, you want to capture that magical café ambiance in photos, especially when the sun dips down? The secret, plain and simple, is understanding light. It’s not about expensive gear; it’s about observing and manipulating what’s already there or adding a little bit strategically. Think of lighting as the unspoken language of a café, telling a story of warmth, intimacy, or perhaps a buzzing energy.
Before you even think about your camera, take a moment to really see the light sources around you. Most cafés are designed with a specific mood in mind, and their lighting plays a huge part in that.
Window Light: The Golden Hour & Beyond
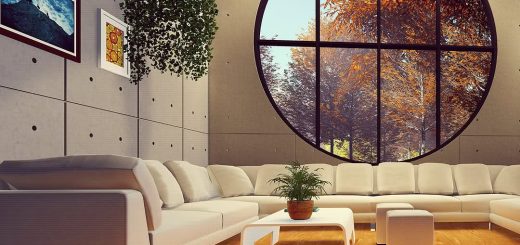
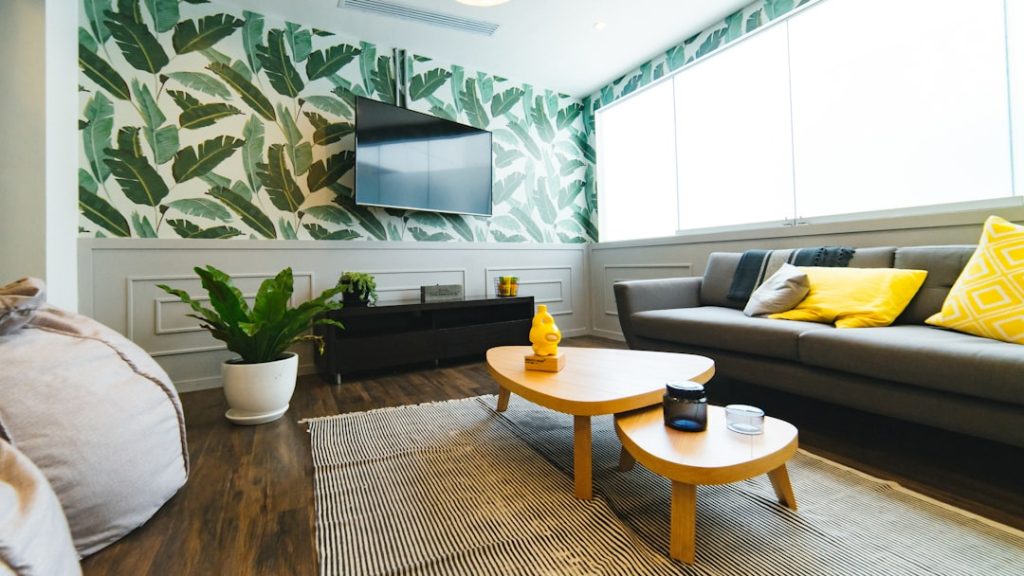
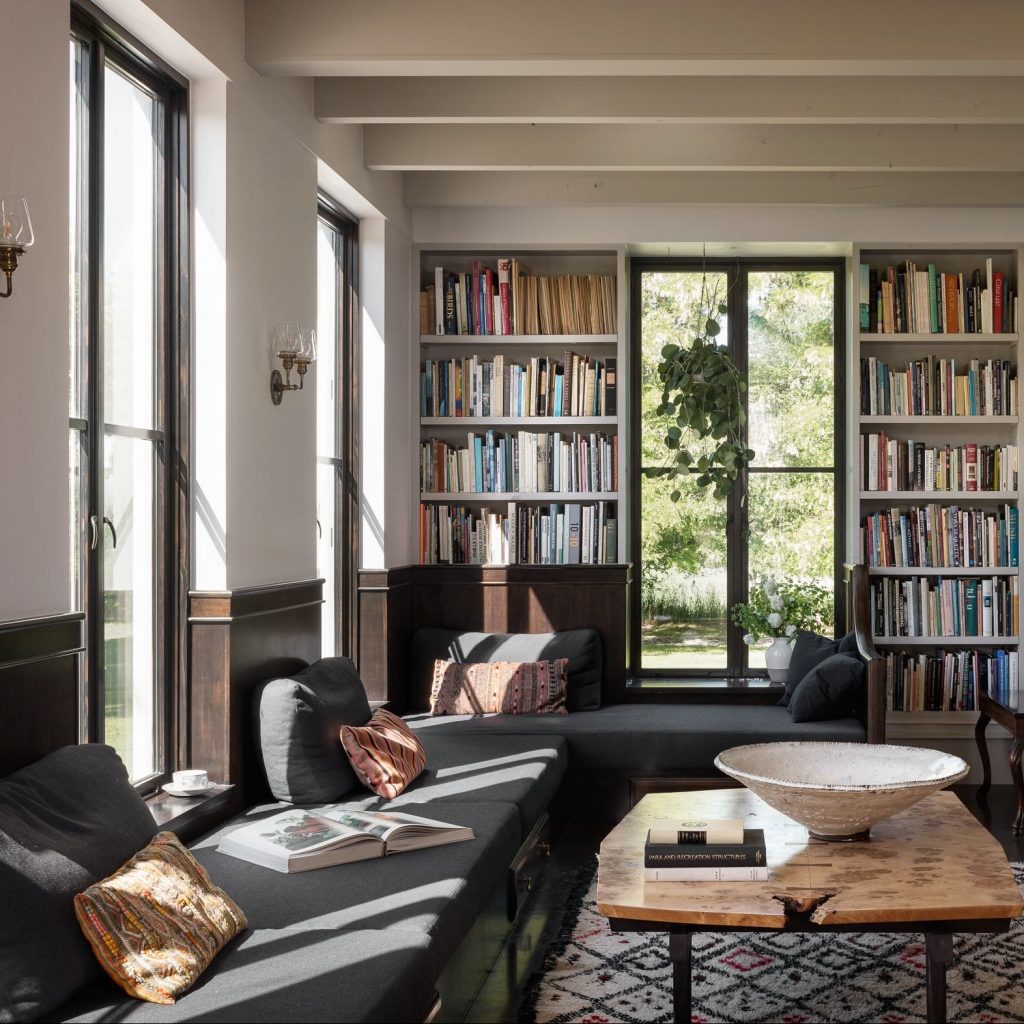
Window light is your best friend, especially during that sweet spot just before sunset.
- Soft, Diffused Goodness: On an overcast day, window light is incredibly soft and even, perfect for detail shots of food or close-ups of people. It wraps around your subject beautifully.
- Directional Drama: When the sun is lower, it can stream in, creating dramatic shadows and highlights. Don’t be afraid of these; they add depth and interest. Use them to your advantage – perhaps backlighting a coffee cup for a glowing effect, or casting long, interesting shadows across a table.
- The «Golden Hour» Trick: This isn’t just for landscapes. As the sun dips, the light through windows takes on a warm, golden hue. This is prime time for capturing that cozy, inviting café feel. Position your subject to be kissed by this light for a naturally warm, flattering look.
Overhead Fixtures: Spotlights and Ambient Warmth
Cafés rarely rely on just one light source. Look up!
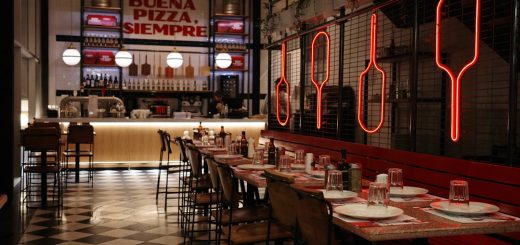
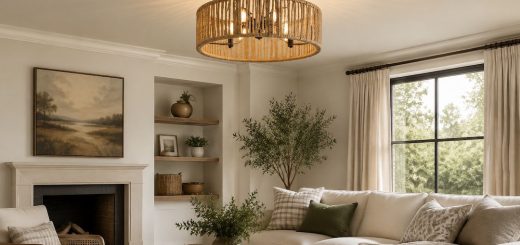
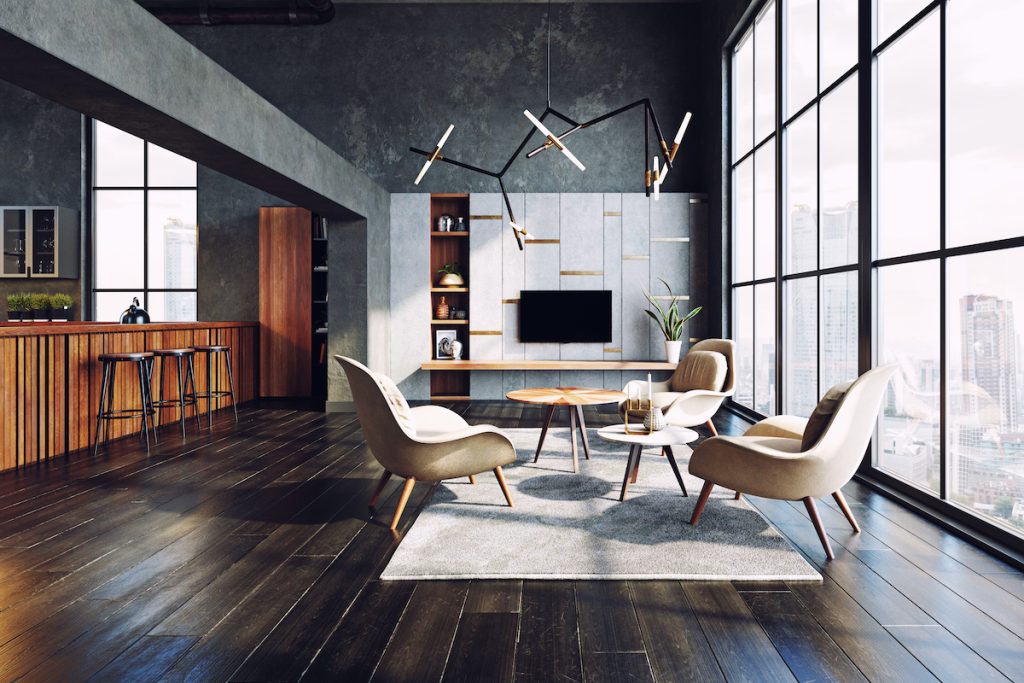
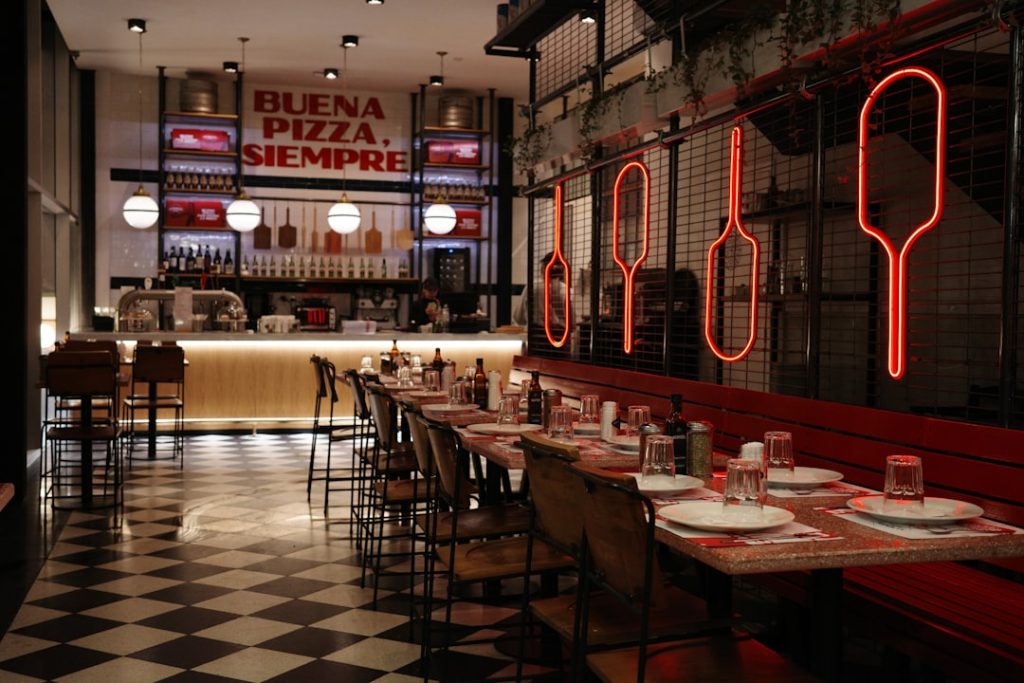
- Pendant Lights & Chandeliers: These are often decorative but also functional. They typically cast a downward, localized light.
- Hot Spots vs. Soft Glow: Be mindful if a pendant light is directly over your subject. It can create harsh highlights or unflattering shadows directly beneath. Sometimes, moving your subject slightly out of the direct beam can soften the effect.
- Adding Sparkle: The reflections from these lights can add a nice sparkle to glass or glossy surfaces, enhancing the sense of a bustling, lively space.
- Track Lighting: Common in more modern or art-focused cafés, track lighting offers flexibility.
- Highlighting Features: These are often used to spotlight artwork, menu boards, or specific seating areas. You can use this to your advantage by positioning your subject near these illuminated spots.
- Creating Layers: The directional nature of track lighting helps create layers of light and shadow, which is key to that multi-dimensional ambiance.
Wall Sconces & Accent Lighting: Building Intimacy
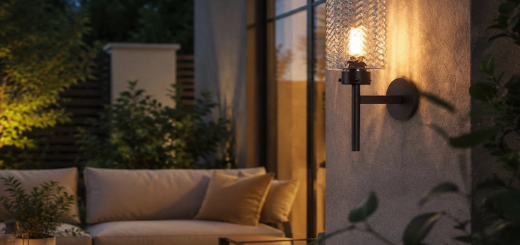
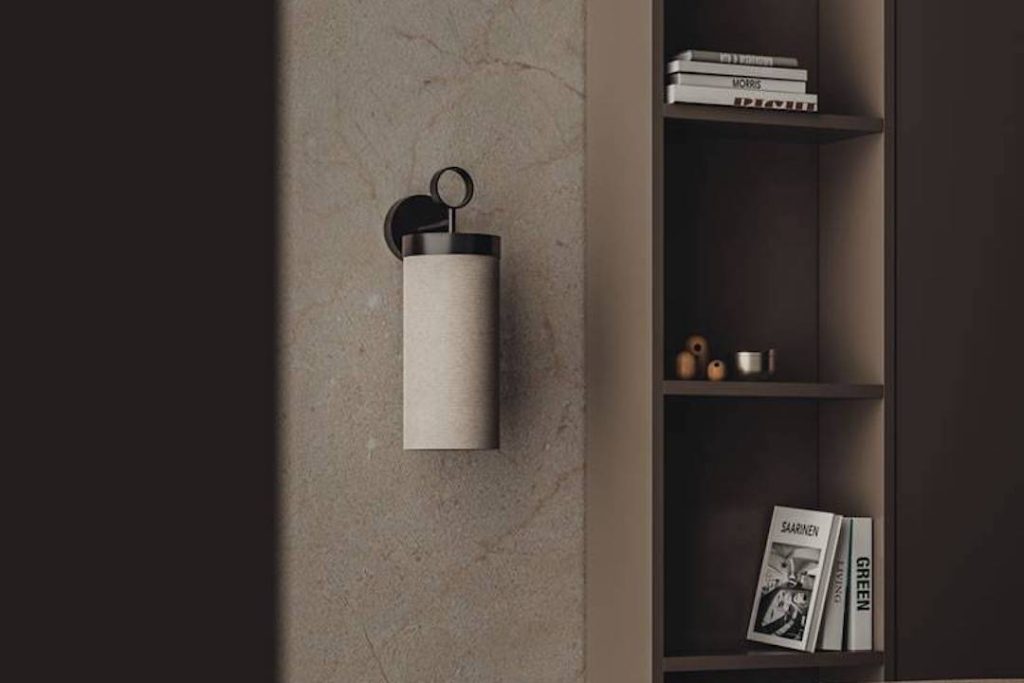
These are the unsung heroes of café ambiance. They rarely light an entire area but are crucial for mood.
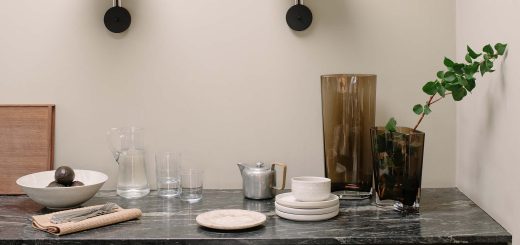
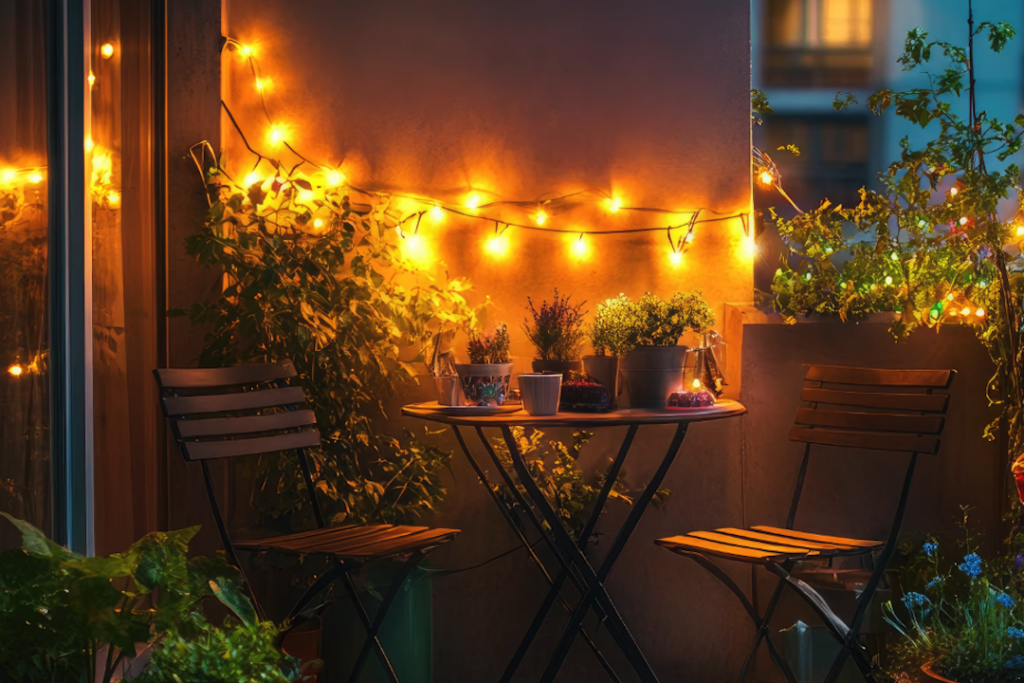
- Warm Pools of Light: Sconces often create pools of warm, soft light on walls, drawing the eye and making the space feel more intimate.
- Backlighting and Rim Lighting: If a sconce is behind your subject (or even just behind a prop like a plant), it can create a beautiful rim light, separating the subject from the background and adding depth.
- Texture & Detail: The soft glow from accent lighting can highlight textures on walls, furniture, or even a frothy latte, making the overall image richer.
Camera Settings for Low-Light Magic
You’ve observed the light; now let’s talk about how your camera interprets it. Don’t be afraid of higher ISOs or wider apertures.
Aperture: Let There Be Light (and Bokeh!)
Your aperture (f-stop) is your biggest friend in low light.
- Wider is Better (Smaller f-number): Use a wide aperture (e.g., f/1.8, f/2.8, f/4). This lets in more light, allowing for faster shutter speeds and lower ISOs, which means less noise in your photos.
- Bokeh Bliss: A wide aperture also creates that lovely blurry background effect (bokeh) that often screams «café vibe.» It helps your subject pop and focuses the viewer’s eye.
- Balancing Sharpness: While wide apertures are great, remember that your depth of field (the area in focus) will be shallower. If you’re shooting multiple items on a table, you might need to stop down a bit (e.g., f/4 or f/5.6) to get everything in focus, especially if they’re not on the exact same plane.
ISO: Embracing the Grain (or Avoiding It)
ISO determines your camera’s sensitivity to light.
- Go Higher, But Cautiously: In low light, you’ll inevitably need to increase your ISO (e.g., 800, 1600, or even 3200+). Don’t fear it! Modern cameras handle higher ISOs much better than older models. A little bit of grain (noise) can sometimes even add to the «film-like» or «moody» aesthetic.
- Find Your Camera’s Sweet Spot: Experiment with your specific camera body to see how high you can push the ISO before the noise becomes distracting. Some cameras are fantastic at ISO 3200; others start struggling at 1600.
- Noise Reduction in Post-Production: If you do end up with some noise, most editing software has excellent noise reduction tools. Just use them subtly to avoid making your image look too smooth or «plastic.»
Shutter Speed: Freezing the Moment (or Blurring the Motion)
Shutter speed controls how long your camera’s sensor is exposed to light.
- The Handheld Rule: A general rule of thumb for handheld shooting is that your shutter speed should be at least 1/focal length (e.g., for a 50mm lens, aim for 1/50th of a second or faster). In low light, this can be challenging.
- Steady Hands & Support: Brace yourself against a table, a wall, or even use a small, discreet tripod or gorillapod if the café allows it (and you’re not disturbing others). This lets you use slower shutter speeds without blur.
- Motion Blur for Effect: Sometimes, a slightly slower shutter speed (e.g., 1/15th or 1/30th) can introduce subtle motion blur to things like steam rising from a coffee cup, or a passing person, which can add dynamism and a sense of «life» to your photos. Use this intentionally, though, not accidentally.
White Balance: Capturing the True Colors
Café lighting can be a mix of warm incandescent bulbs, cooler LEDs, and natural daylight. This can confuse your camera.
- Manual White Balance is Your Friend: Instead of relying on «Auto White Balance,» try setting it manually.
- Preset Options: Start with presets like «Tungsten» (for very warm, orange light), «Fluorescent» (for cooler, greenish light), or «Shade» (for slightly warmer outdoor light).
- Custom White Balance: The best way is to take a picture of a neutral gray or white object under the dominant light source and set your custom white balance. This will ensure accurate colors.
- Embracing Warmth: Often, the desired café ambiance is warm and inviting. Don’t be afraid to lean into a slightly warmer white balance setting to enhance that cozy feel, even if it’s not perfectly «accurate.» It’s about capturing the feeling.
Strategic Lighting Enhancement (When You Need a Little Help)
Sometimes, the natural light just isn’t cutting it, or you want to add a specific touch.
Portable LED Panels: Discreet Fill & Accent
These small, rechargeable lights are game-changers for café photography.
- Subtle Fill Light: Position a small LED panel slightly off-camera to gently fill in harsh shadows on your subject without making it look artificially lit.
- Backlight Magic: Place one behind a coffee cup or a pastry to create a beautiful rim light, making it glow and stand out from the background.
- Adjustable Warmth: Many LED panels allow you to adjust the color temperature, so you can match the existing café light (warm incandescent or cooler daylight) seamlessly. Keep it low power to maintain the natural look.
Reflectors: Bouncing Back the Goodness
You don’t always need to add light; sometimes you just need to redirect it.
- Small, Collapsible Reflectors: A small, collapsible reflector (gold for warmth, silver for brightness, white for soft fill) can be incredibly useful and discreet.
- Bouncing Window Light: If you have window light coming from one side, use a reflector on the opposite side to bounce some of that light back onto your subject, opening up shadows and creating a more even exposure.
- Filling in Under-Eye Shadows: When photographing people, a reflector placed subtly below their face can bounce light up, reducing harsh shadows under the eyes.
Phone Flash (with Caution!): The Last Resort
Generally, avoid using your camera’s built-in flash directly. It’s often harsh and unflattering. However, your phone’s flashlight can be a useful, albeit last-resort, tool.
- Off-Camera Fill: Don’t blast it directly at your subject. Instead, use another person to hold your phone’s flashlight off-camera, acting as a small, directional fill light.
- Bounced Light: If there’s a nearby light-colored wall or ceiling, you can try bouncing your phone’s flashlight off it for a softer, more diffused light.
- Color Temperature Awareness: Phone flashes are usually cool. Be mindful of how this mixes with the warm café lighting. Sometimes it works, sometimes it creates an unflattering color cast.
Composition & Storytelling Through Light
Beyond the technicalities, think about how light tells your story.
Highlighting the Subject: Making It Pop
Use light to draw the viewer’s eye directly to what you want them to focus on.
- Brightest Point: Often, the brightest point in your image will be where the viewer looks first. Position your subject in an area with slightly more light than its surroundings.
- Contrast: The contrast between light and shadow can also make a subject stand out. A well-lit coffee cup against a darker, moody background will grab attention.
- Light as a Guide: Imagine lines of light leading to your subject. A shaft of light from a window, for example, can naturally point the way.
Creating Depth with Light & Shadow
Flatly lit images often look dull. Light and shadow add dimension.
- Layers of Light: Look for areas where different light sources overlap or create distinct zones of light and dark. This adds visual interest and depth.
- Shadow Play: Don’t be afraid of shadows. They define shape, add mood, and can reveal interesting textures. Long, dramatic shadows from a low sun or an overhead fixture can be incredibly atmospheric.
- Rim Lighting: As mentioned before, light coming from behind your subject creates a beautiful «halo» effect, separating it from the background and adding a sense of depth and ethereal quality.
Enhancing Mood: Warmth, Coziness, or Energy
Every café has a mood, and lighting is central to conveying it.
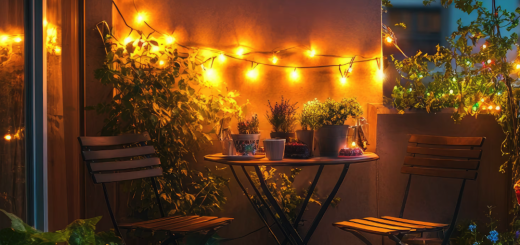
- Warm Tones for Coziness: Emphasize the warm tones (incandescent, candle light, golden hour) to convey comfort, intimacy, and a welcoming atmosphere. Adjust your white balance accordingly.
- Softness for Serenity: Soft, diffused light (overcast window light, bounced light) often evokes a sense of calm and peacefulness, perfect for a quiet reading nook.
- Bright & Contrasty for Energy: If the café is bustling and vibrant, a mix of brighter, more directional lights with strong shadows can reflect that energy.
Capturing Reflections & Highlights
These tiny glints of light add life and sparkle.
- Glassware & Ceramics: Look for reflections in coffee cups, glass carafes, or polished tables. These add a sense of realism and vibrancy.
- Wet Surfaces: The condensation on a cold drink or the sheen on a pastry can be beautifully highlighted by directional light.
- The «Catchlight» in Eyes: When photographing people, try to get a small reflection of a light source in their eyes (a «catchlight»). It makes them look more alive and engaging.
Post-Processing: The Final Polish
Even with perfect in-camera settings, post-processing is where you fine-tune the light.
Exposure & Contrast Adjustments
- Bring Up Shadows, Tone Down Highlights: In low light, it’s easy to have deep shadows and blown-out highlights. Use the shadow and highlight sliders in your editing software to recover detail.
- Add a Touch of Contrast: Gently boost the contrast to make your images pop, but be careful not to overdo it and crush your blacks or blow out your whites. A little «S-curve» in the tone curve can do wonders.
White Balance Refinement
- Temperature & Tint Sliders: Even if you set white balance in-camera, you might want to tweak the «temperature» (warmer/cooler) and «tint» (magenta/green) sliders to achieve the perfect mood.
- Split Toning (Advanced): For a truly moody look, experiment with split toning, adding warm tones to the highlights and cooler tones to the shadows, or vice-versa. This can enhance the feeling of existing ambient light.
Noise Reduction
- Subtle Application: If you had to use a high ISO, apply noise reduction subtly. Too much and your image loses detail and can look overly smooth. Focus on reducing color noise primarily.
Vignetting: Drawing the Eye In
- Subtle Darkening: A gentle vignette (darkening the edges of the photo) can help draw the viewer’s eye towards the center, where your subject is, and enhance the moody, intimate feel.
Final Thoughts: Practice Makes Perfect
Capturing that perfect café ambiance with light isn’t a one-time trick; it’s a skill developed through practice and observation. Don’t be afraid to experiment. Move around, try different angles, and pay attention to how even a slight shift in your position changes the light on your subject. The more you «see» the light, the better you’ll become at manipulating it to tell your visual story. So next time you’re enjoying a coffee, take a moment, look around, and let the light inspire you.